

Bulk Upload
Bulk Upload Template
In addition to the import utility, Documentum provides a bulk upload function that can import multiple documents to a single folder location. Properties may also be updated using a spreadsheet. The format of the spreadsheet is important and a template is provided in the Templates/Capital Projects Templates folder.
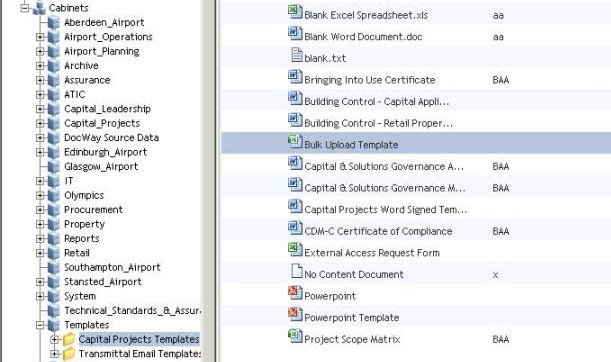
- Navigate to the Bulk Upload Template and open it by clicking on the name
- Populate the required data for the documents you need to import, as shown in the example below.
- Save your spreadsheet locally
- column headings for each of the mandatory properties and attributes are provided in the spreadsheet – do not edit these
- please ensure that you enter a value for ALL of the mandatory columns, with NO blanks (*unless you know the Document Number – see below)
- the upper section titled "Default Properties..." can be used to identify any properties that will be common to all documents being created.
- Full instructions and guidance is provided in the Bulk Load User Guide (00000-XX-WP-XXX-000050)

Note
If you have reserved a Document Number from the External Number Generator or you are updating an existing version of a Document you need to specify the Document Number in the “Object_Name” column.
Note
If you leave the Document Number field blank, Documentum will assign you a new number for you.
Bulk Upload
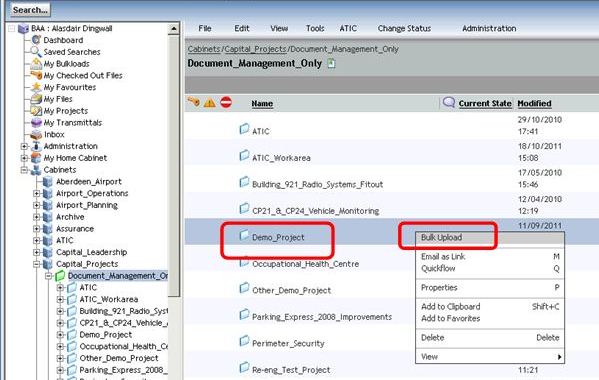
- In Documentum, navigate to the green programme folder which contains the project where the documents are to reside.
- Select the required blue project folder by ticking the box next to it. (appropriate access rights are required to import documents)
- From the File menu select Bulk Upload
The Bulk Upload Documents screen is launched:
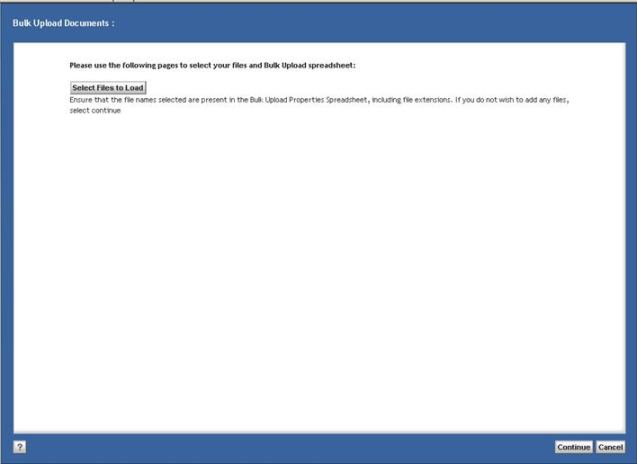
4. Click the Select Files to Load button, to launch the Import: Files screen (or simply click next if you wish to create document number placeholders
5. If the Select Files to Load was selected, click Add Files and browse to the required files, select them and click OK to confirm
- the files are added to the import list
- to remove a file from the import list, select the file and click Remove
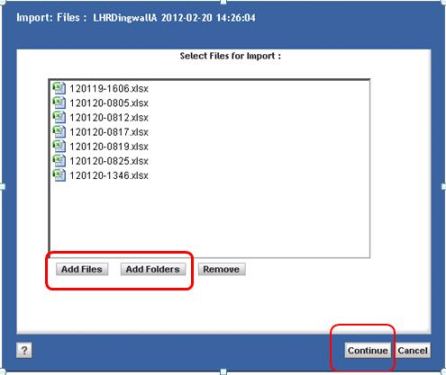
6. Once the required file(s) have been selected and appear on the screen, click the Continue button
You will be returned to the Import Documents screen, this time with the extra button to Select Properties Spreadsheet:
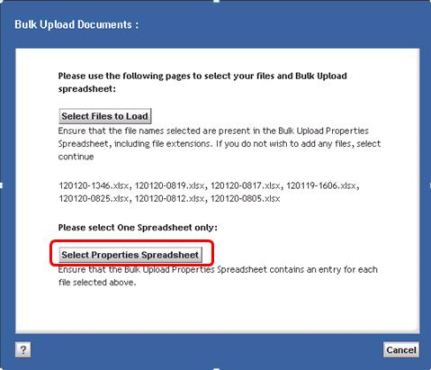
7. Click the Select Properties Spreadsheet button
8. Browse to and select the Excel spreadsheet you prepared earlier
9. Once the required spreadsheet has been selected and appears in the screen, click the Continue button
10. A message will be displayed stating; "Your selected files and spreadsheet are being processed.
You will be notified via the Dashboard when processing is complete."
11. Click Finish.
12. If the load has failed, the reason why will be identified in the Load Report which can be found in the upload folder accessed through My Bulk Uploads.
13. If the load was successful the load report wil list the document numbers generated.
Note
As there are many fields linked to fixed lists within Documentum, errors in spelling will cause validation errors. Please take care to enter the correct values in the fields in the spreadsheet.

